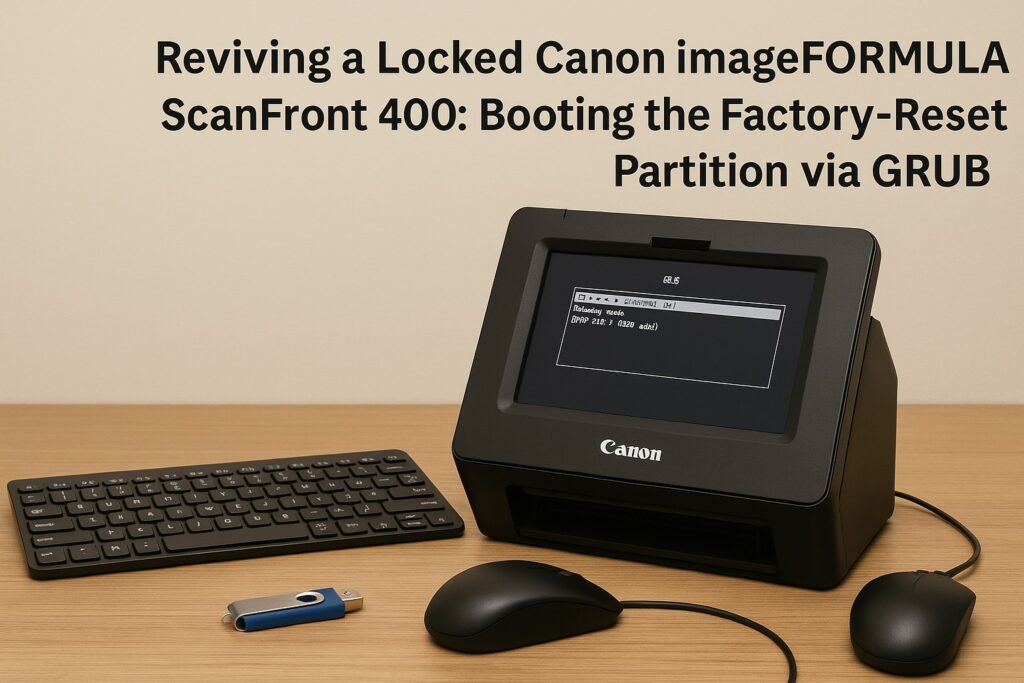
My ScanFront 400 (firmware 2.0.1610.0601) worked fine but was locked by an unknown Administrator password. The rear reset button didn’t work, and forcing GRUB to show at boot also failed initially. I attached a USB keyboard & mouse, booted a lightweight live Linux from USB, and edited GRUB (Legacy) on the scanner’s internal MMC so it boots the factory-reset partition. On next boot, the scanner displayed the Factory Reset screen.
Symptoms & context
-
Scanner operates, but Admin password is unknown.
-
Reset button on the back does nothing.
-
GRUB menu is hidden; can’t reach recovery at power-on.
-
On many ScanFronts, storage is an MMC/SD with multiple partitions:
-
p1: boot files (kernel, GRUB)
-
p2: backup/factory-reset image
-
p3: main OS/data (holds configs, users, passwords)
-
Without the admin password, the unit is basically scrap—unless you can trigger the factory-reset image.
What you need (downloads)
-
Damn Small Linux 2024 (DSL) live ISO (or any small live distro with basic tools): see the official DSL Download page. Damn Small Linux
-
A tool to make a bootable USB (on Windows I used Rufus 4.9): official site + 4.9 release. rufus.ieGitHub
Tip: DSL 2024 is actively maintained and small—great for quick rescue work. Damn Small Linux
Prepare the USB
-
On a Windows PC, open Rufus → select your USB stick → pick the DSL 2024 ISO → Start. (Get Rufus at the official site; 4.9 release notes are on GitHub.) rufus.ieGitHub
-
Safely eject the USB.
Connect & boot the scanner from USB
-
Plug a USB keyboard & mouse into the ScanFront’s three USB ports.
-
Insert the DSL USB.
-
Power on the scanner.
-
Rapid-tap keys to find firmware menus (on my unit, F6 opened BIOS setup; F7 opened the Boot Menu). Your keys may vary, but this pattern is common.
-
Pick the USB device.
-
At the DSL menu, choose the Live option and wait for the desktop.
On our DSL/antiX-based session, the live username is often demo with password demo if prompted. (antiX quick tips confirm “demo/demo” as defaults on live media.) antixlinux.com
Get a root shell (optional but convenient)
Open a terminal:
Identify the internal MMC partitions
DSL typically auto-mounts volumes under /media. You should see something like:
-
/media/mmcblk0p1→ boot partition -
/media/mmcblk0p2→ recovery/factory-image -
/media/mmcblk0p3→ main OS/data
Confirm with:
lsblk -f
mount | grep mmcblk0
You’re looking for p1 with /boot/grub files and p2/p3 that look like full root filesystems.
Edit GRUB (Legacy) to boot the factory-reset partition
GRUB Legacy (0.97) on this unit reads either /boot/grub/menu.lst or /boot/grub/grub.conf from p1. Navigate there:
cd /media/mmcblk0p1/boot/grub
# Back up before editing (name matches whatever file you actually have)
cp grub.conf grub.conf.bak 2>/dev/null || true
cp menu.lst menu.lst.bak 2>/dev/null || true
Open the file that exists (grub.conf or menu.lst) with nano:
nano grub.conf
# or
nano menu.lst
Original GRUB (from my unit)
default=0
timeout=1
splashimage=(hd0,0)/grub/splash.xpm.gz
hiddenmenu
title CELP 4.0.2 (3.10.87-cei.10_32-ltsi) at mmcblk0
root (hd0,0)
kernel /vmlinuz-3.10.87-cei.10_32-ltsi rw root=/dev/mmcblk0p3 rootdelay=5 console=tty0 console=ttyS0,57600n8 mmc_core.removable=0 igb.EEE_10BASE_TE=0 mem=2G loglevel=2
title CELP 4.0.2 (3.10.87-cei.10_32-ltsi) at sdb
root (hd0,0)
kernel /vmlinuz-3.10.87-cei.10_32-ltsi rw root=/dev/sdb3 rootdelay=5 console=tty0 console=ttyS0,57600n8 mmc_core.removable=0 igb.EEE_10BASE_TE=0 mem=2G
Modified GRUB (show menu; add factory-reset entry)
default=0
timeout=10
splashimage=(hd0,0)/grub/splash.xpm.gz
#hiddenmenu
title CELP 4.0.2 (internal p3) [CURRENT]
root (hd0,0)
kernel /vmlinuz-3.10.87-cei.10_32-ltsi rw root=/dev/mmcblk0p3 rootdelay=5 console=tty0 console=ttyS0,57600n8 mmc_core.removable=0 igb.EEE_10BASE_TE=0 mem=2G loglevel=2
title CELP 4.0.2 (Factory Reset p2)
root (hd0,0)
kernel /vmlinuz-3.10.87-cei.10_32-ltsi rw root=/dev/mmcblk0p2 rootdelay=5 console=tty0 console=ttyS0,57600n8 mmc_core.removable=0 igb.EEE_10BASE_TE=0 mem=2G loglevel=2
title CELP 4.0.2 (USB sdb3) [RECOVERY]
root (hd0,0)
kernel /vmlinuz-3.10.87-cei.10_32-ltsi rw root=/dev/sdb3 rootdelay=5 console=tty0 console=ttyS0,57600n8 mmc_core.removable=0 igb.EEE_10BASE_TE=0 mem=2G
Why this works: both entries load the same kernel from
(hd0,0)(p1), but we switch the kernel’sroot=to p2, which holds the factory-reset image that auto-starts its reset routine on boot. This “point GRUB to the reset partition” approach is commonly reported by technicians who’ve unlocked ScanFronts. Copytechnet.com
Save your edits and exit.
Reboot into the reset image
-
Shut down the live session.
-
Remove the USB stick.
-
Power on the scanner.
-
With
hiddenmenudisabled andtimeout=10, you should see GRUB. -
Choose “Factory Reset p2”.
-
Wait—within seconds you should see the Factory Reset screen/wizard.
After reset, update drivers/firmware from Canon’s support page as needed. Canon USA
Notes, caveats & safety
-
This walkthrough assumes GRUB Legacy and a partition layout where p2 is the reset image and p3 is the active OS. (That’s typical on ScanFront 400 units.)
-
If your layout differs, adapt the
root=/dev/mmcblk0p?target accordingly. -
Editing the wrong partition or writing invalid configs can brick the device. Always keep the USB boot option available as a fallback.
-
The UI “Administrator” password is not the same as Linux
root; the Admin password lives in Canon’s app config/database, not in/etc/passwd. -
Expect a full wipe of configs/users during the factory reset—this is the point.
Downloads & references
-
Damn Small Linux 2024 — official download (rc7 ISO & checksums). Damn Small Linux
-
Rufus — official site (bootable USB creator). rufus.ie
-
Rufus 4.9 release (manual download guidance & changelog). GitHub
-
Canon imageFORMULA ScanFront 400 — support (manuals/drivers). Canon USA

